How To Play The Course
https://monmouthgolfclub.co.uk/wp-content/uploads/2020/10/MGC-Look-Up-Chart-v2.pdf
‘Knowledge is power’is a popular proverb. Paraphrasing its meaning in a golfing context confirms that course knowledge is more powerful than physical strength and no great golf round can be achieved without such knowledge. Knowledge is a powerful factor that empowers golfers to achieve great results. The more knowledge a golfer gains, the more successful he becomes.
Now read on ……
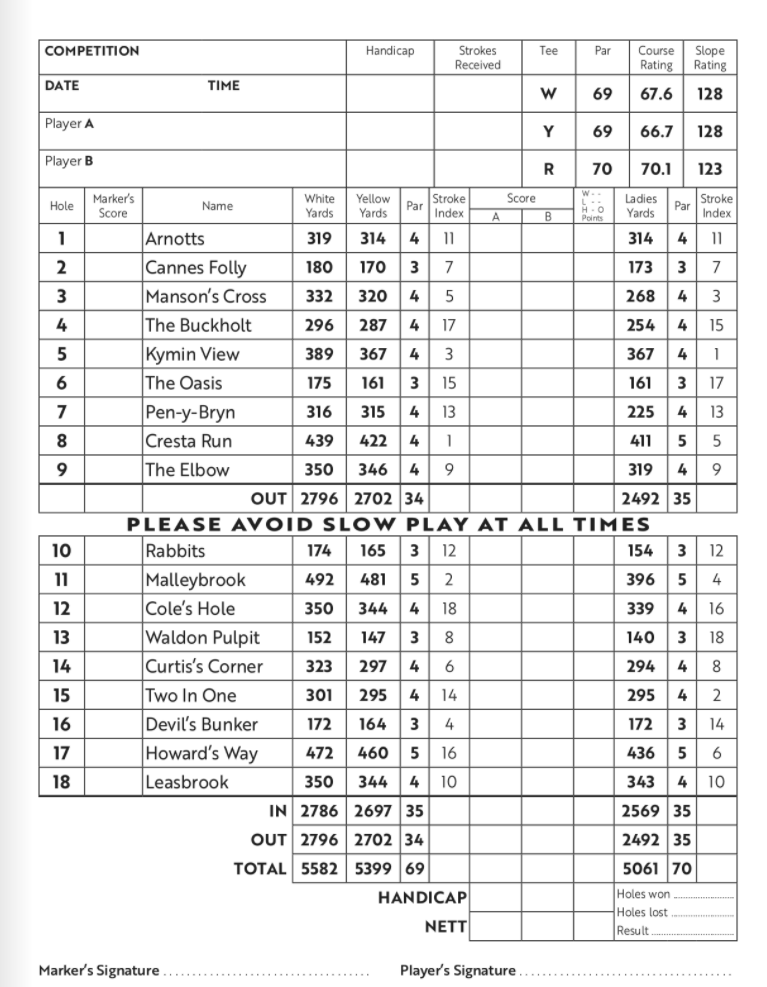
This hole by hole guide is the ‘power’ intended to help you to get the most out of your visit to the Monmouth Golf Course and, in an attempt to maximise the benefit to golfers of all levels, is viewed through the eyes of a mid-handicap golfer off the yellow tees; we hope it helps.
This guide also emphasises the degree of variation between the holes and verifies our boast that every hole on the course is different and therefore presents a different challenge each time you stand on the tee or assess your shot into the green.
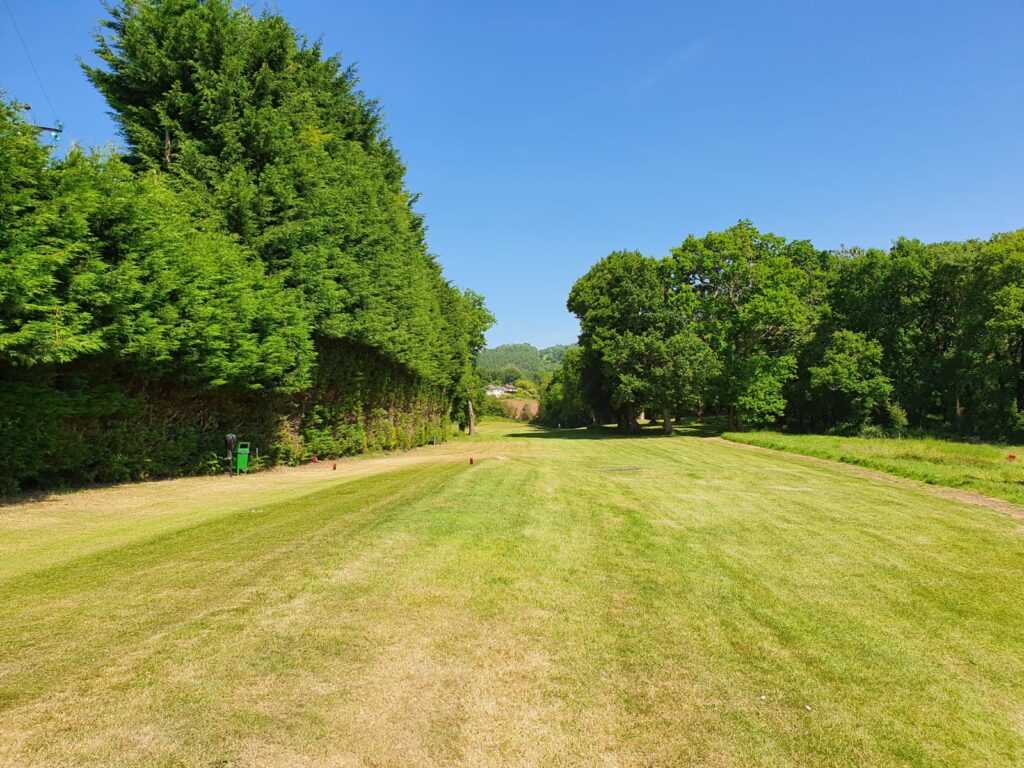
Hole 1: Par 4
Visually a relatively straightforward opening hole; for the best results from your tee shot, a position to the right of the fairway over the ridge gives you a view of the hole less than 150 yards away. A shot into the green should favour the centre to left side of the green; avoid either going through the green or the bunker on the right. Any putt should take note of a subtle borrow towards the bunker side.
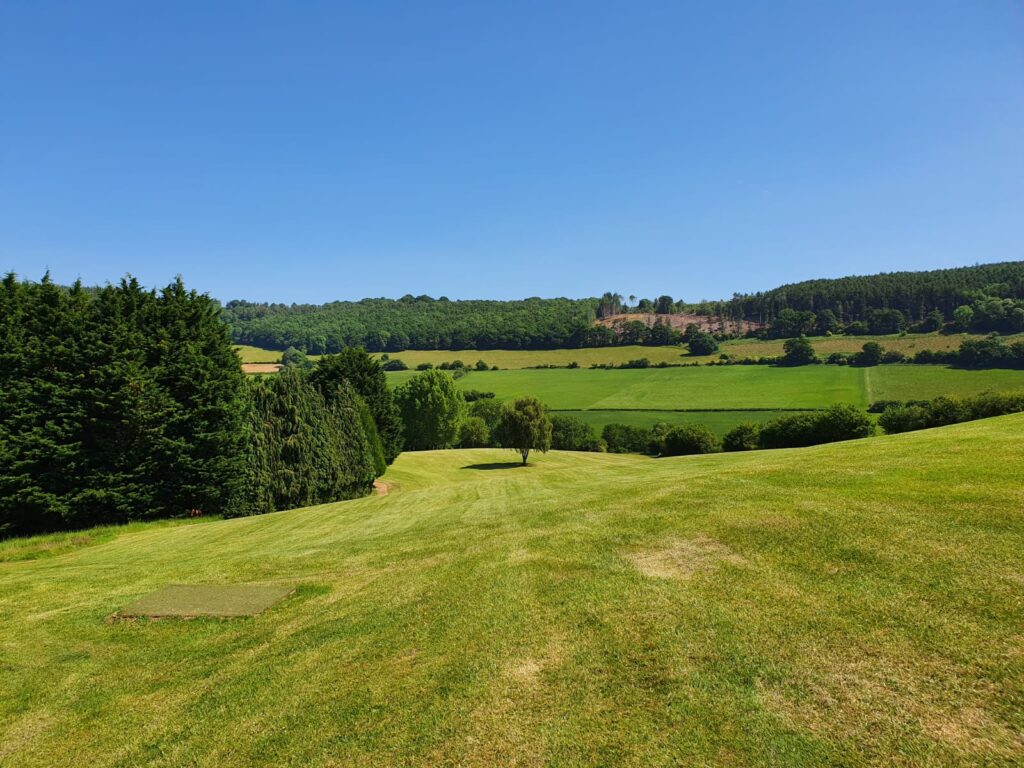
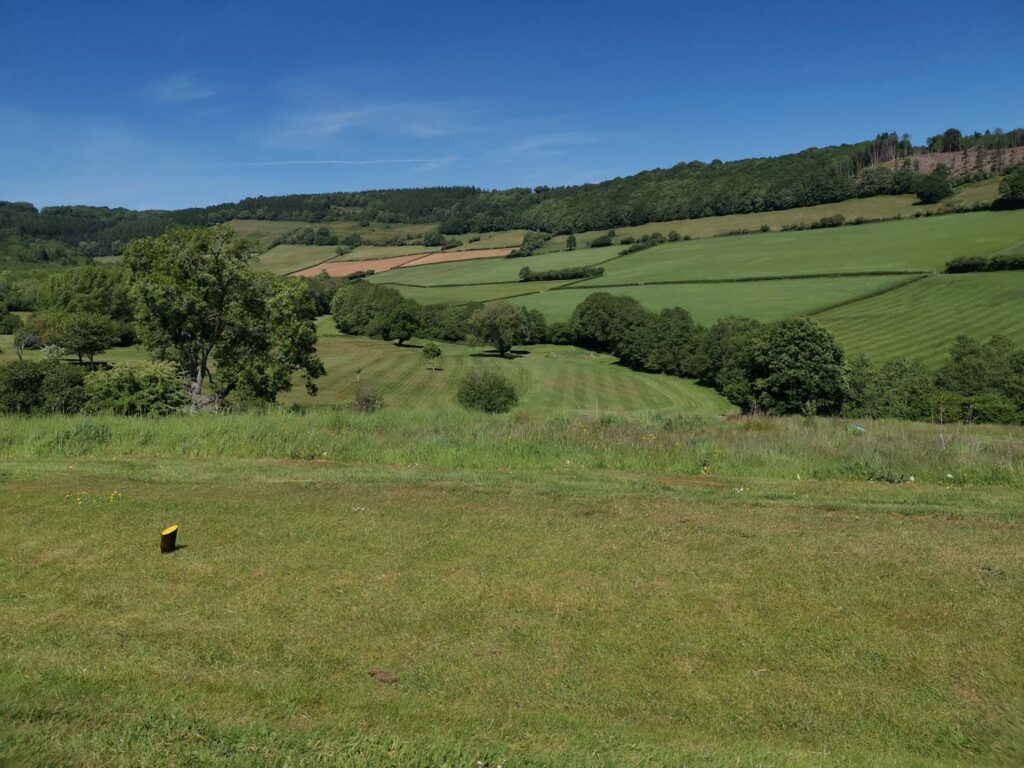
Hole 2: Par 3
After the gentle 1sthole arriving at the 2ndtee will be a bit of a shock, welcome to the first of our challenging Par-3s. No advice is really necessary, you can see exactly what is required from the elevated tee. The plateau green is angled slightly allowing some leeway in club selection but accuracy is particularly important; missing the green will test your short game. The garden, including the hedge, to the left are Out of Bounds. A score of 4 is no disgrace.
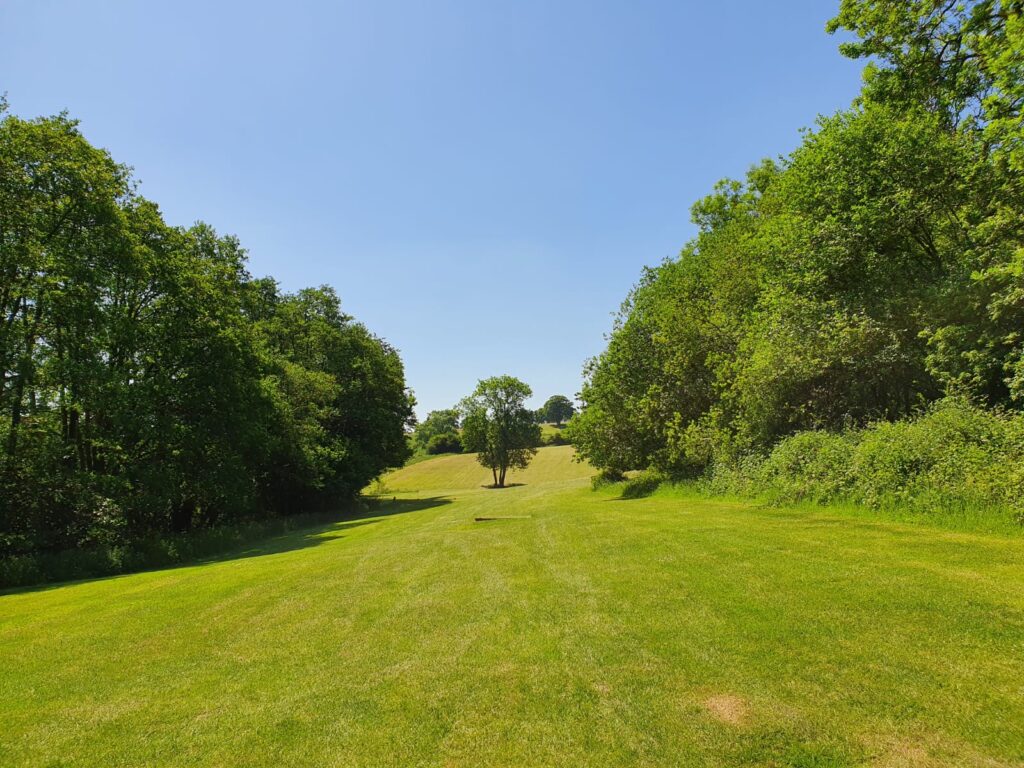
Hole 3: Par 4
A blind uphill drive to a fairway sloping left to right greets you on this hole, although a shot finishing into the right rough need not cause too much concern. An important consideration is the fact that it is very easy to underestimate the shot into the green in terms of club selection; the shot will be slightly uphill from a sloping lie to a narrow plateau green with a sloping backdrop. A bunker protects a left sided pin position, large trees can stand guard over a right sided pin depending on your angle of approach. A full shot or a ‘bump and run’ approach will be the choice in hand to reach the green.
Hole 4: Par 4
With less than 300 yards, men’s SI 17 and a clear view of the pin you might be tempted to think this is an easy hole, but it does require some thought. The relatively small gap through the trees means accuracy is the order of the day off the tee, so your club selection could range from a driver to middle to high iron, you need to play to your strengths. The shot into the green must not stray right, if so, you may find two of the three bunkers if you are lucky – Yes ‘lucky’, the alternative will almost certainly result in serious problems. The third bunker is visible front left. The green is about 30 yards deep so again club selection is crucial.
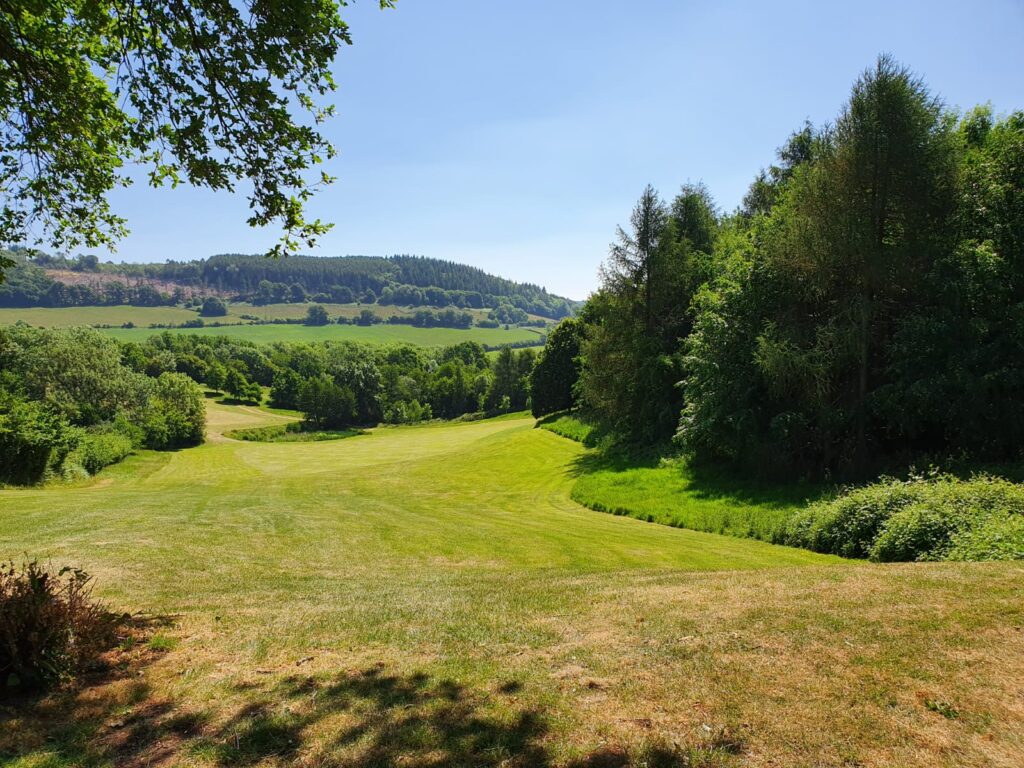
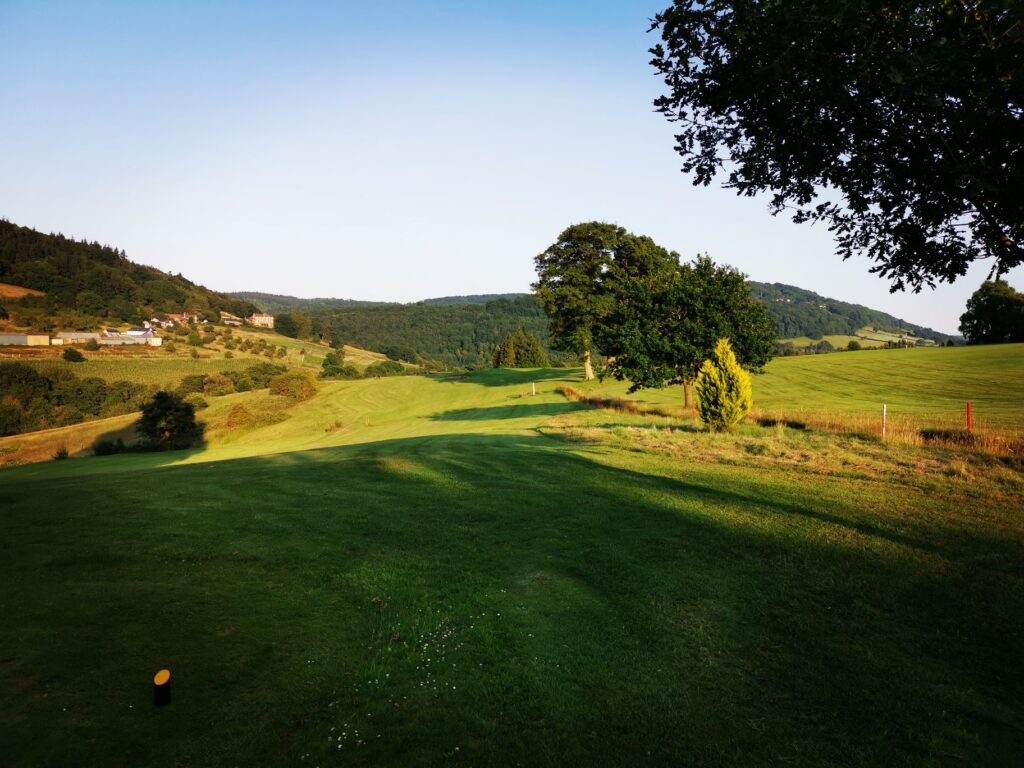
Hole 5: Par 4
A tough hole, the first ‘risk or reward’ hole as the dogleg left may allow the bigger hitters to cut off the corner over mature trees; the rest will play from the elevated tee down to a small lake, you need to be within 10 yards of the lake and preferably to the right of it to find a flatter stance and the clearer line to the green; leave it short and there is virtually no direct shot to the green. From the ideal position, you play over the lake to an elevated green where only the flag is visible. An unseen bunker to the front left of green should not come into play unless your shot is wayward since it rarely shields the pin. Trust the yardage but remember it’s up hill, the green starts about 50 yards past the brow of the hill. The largish green is one of the flatter greens.
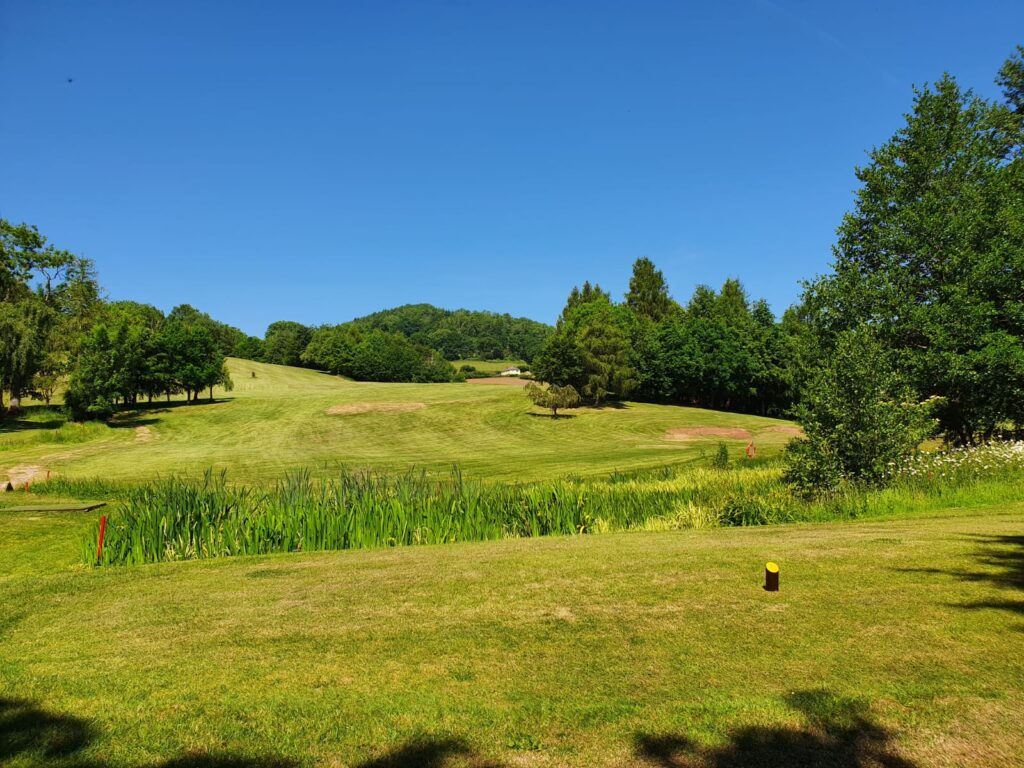
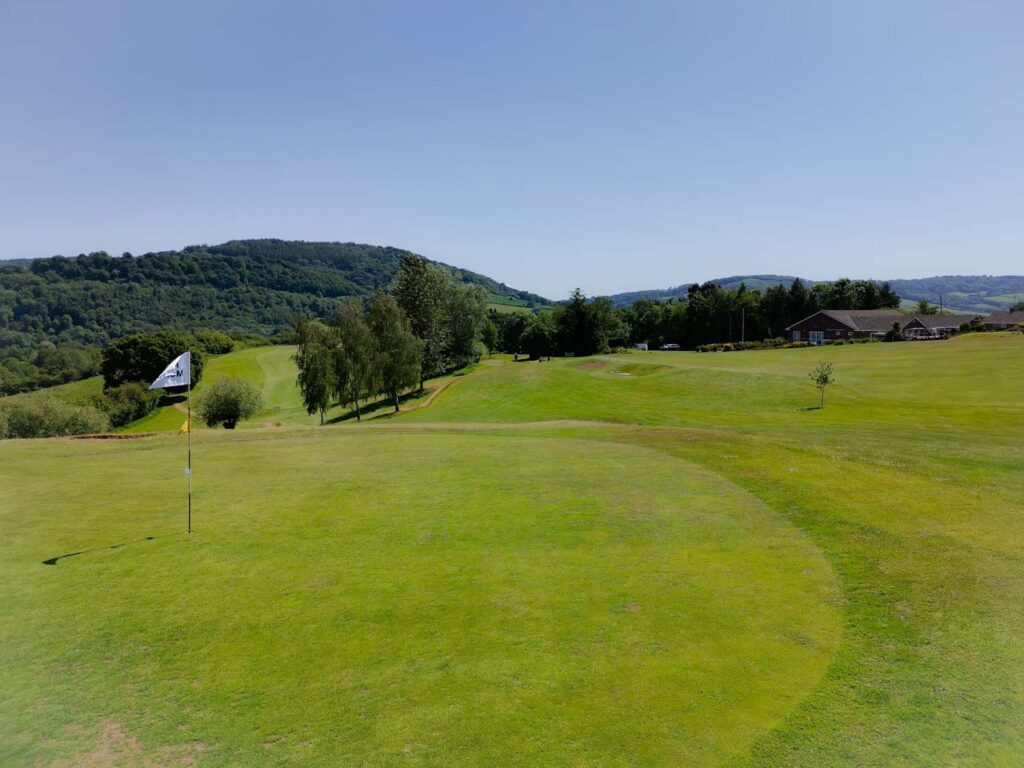
Hole 6: Par 3
This Par3 was defined by a golfing magazine as the ‘signature hole’ for the course. The elevated tee gives a clear view of the water filled gulley that travels diagonally in front and down the left side of the green to a lake at the rear. There are two bunkers on the right side, towards the rear of the green; but despite this aim to right side of the green away from the watery graves and utilising a slightly more generous fringe to the front of the green in the event of an under-hit shot. There are more subtleties in putts at the rear of the green than the front.

Hole 7: Par 4
The tree on the left side of this uphill hole creates the look of a dog leg hole but in fact the ideal line is just right of the tree or even just to the left (technically in the rough); too far right increases the length of the approach shot to the green and the gradient of the lie. The approach shot needs to factor in the upslope, which increases the loft of the club, and the need to avoid leaving the shot short; the length of the shot may turn out to be more important than the direction. The borrow on putts on the front half of green favour the front, elsewhere they are basically straightforward.
Hole 8: Par 4
Being a long Par 4 and awash with potential problems (after all it is stroke index 1), this hole demands that perhaps you use your shot wisely. The elevated tee encourages an expansive drive but try not to be ‘stymied’ by the tree in the fairway and remember the 3rdfairway is out of bounds; on fairway to right of tree is best but left of the tree is still OK but with fewer options. The second shot may or may not take on the green. If you go for it, think of being longer rather than shorter, if short you may be facing a delicate chip; but if you decide to lay up, aim for an approach shot from about 100 yards right of the fir trees, or, if you are feeling confident go longer and father right to within 50-60 yards but past the out of boundsprotecting the 3rdfairway. This more cautious approach will allow a more accurate approach shot to the plateau green. Once on the green the putting should be straightforward.
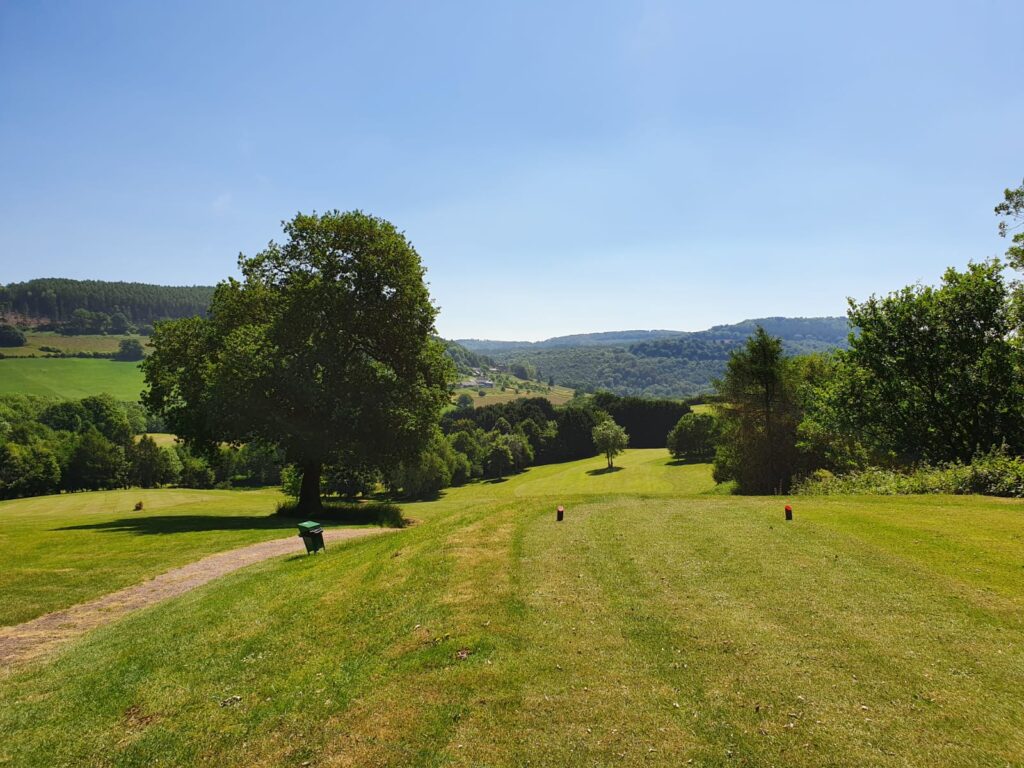
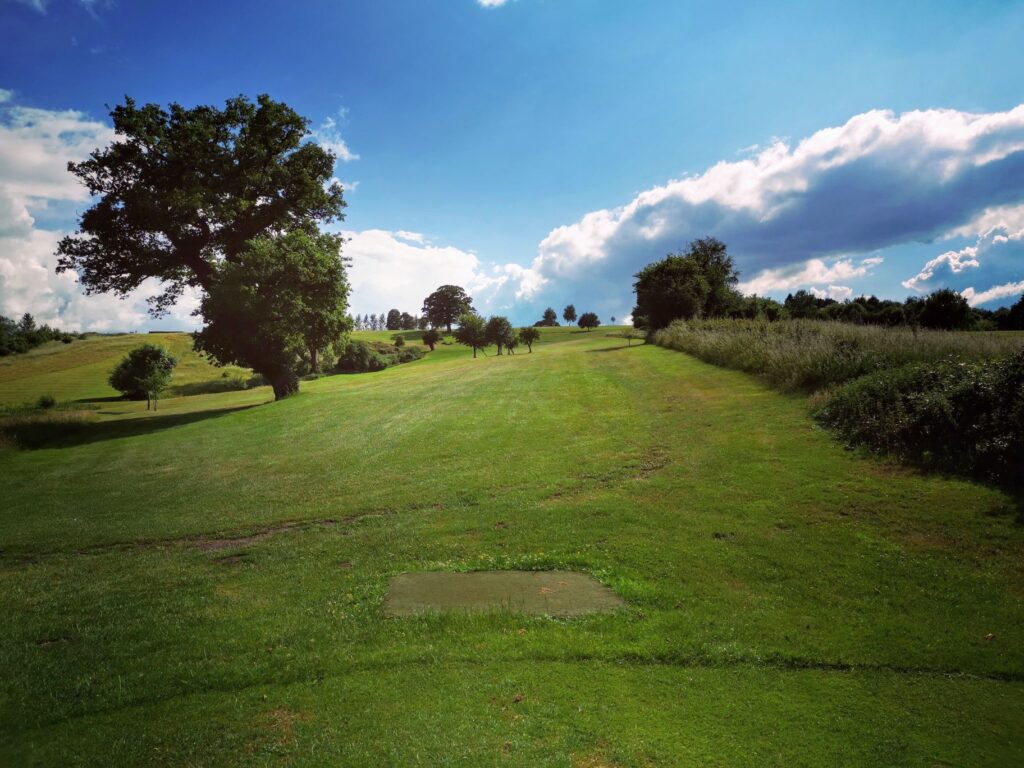
Hole 9: Par 4
The second ‘risk and reward’ hole has a tee shot that ranges from an iron or rescue club shot to the black and white marker pole in view, about 150-170 yards, to an increasingly lengthy shot as you move left taking on the fir trees until a 210+ yards shot will find the ‘hidden’ green. Obviously, it is recommended that you adopt the first option until you have had the opportunity to assess the various ‘risks’ for yourself (before you leave the tee it is worth looking at the pin position on the green to your right, the 11th, for later use). Whatever option you go for you can be too long. From the marker pole you are looking at a 150-160 yards elevated shot to a plateau green with a helpful bank at the rear. Again, after your ordeal you can look forward to a relatively straightforward putt.
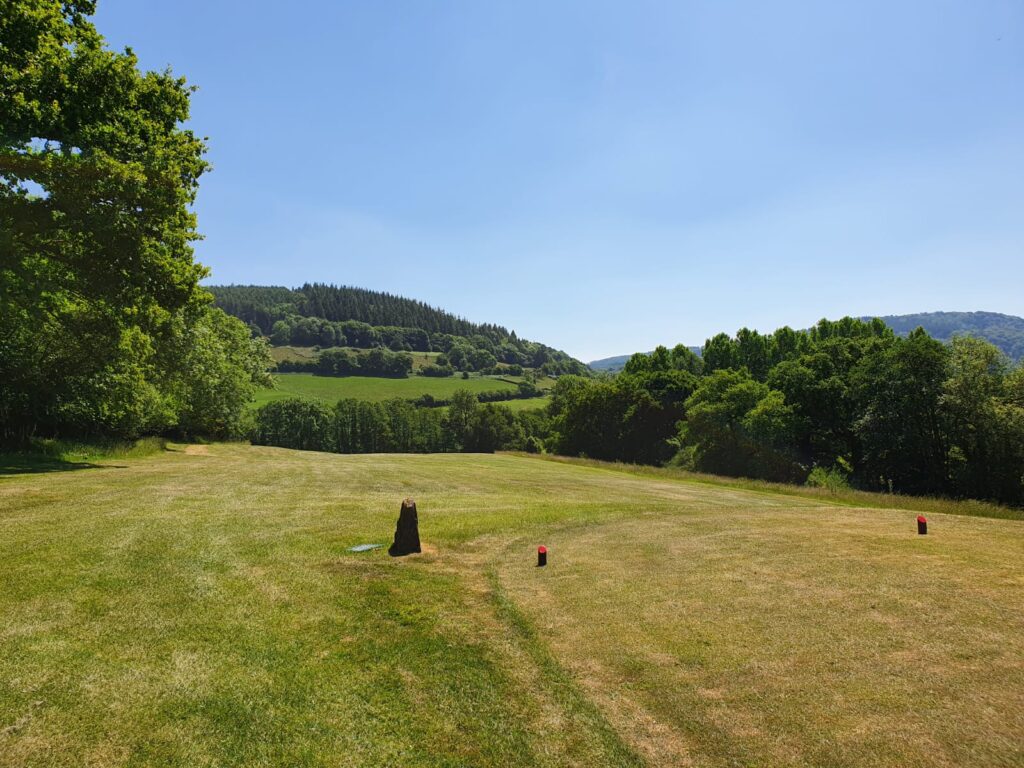
Hole 10 Par 3
Unusual hole since the green is not visible from the tee; if the hole is new to you, it might be worth walking forward 20 or 30 yards to help get a picture of the hole. There are no bunkers but the land drops away behind the hole. Miss the green in any direction and a chip on is possible with varying degrees of difficulty. On the left overhanging trees need to be avoided along with a ditch and out of bounds. Pin positions vary in terms of difficulty but it is prudent to try and hit the green rather than searching out the pin. Putting is an interesting challenge with plenty of obvious and subtle borrows.
Hole 11 Par 5
The drive needs to be straight, but not too straight because a rather large tree is cruelly located in the middle of the fairway at about 160-170 yards; furthermore, a ditch to the left and a ditch and trees to the right at the same distance lay in wait. After this point the fairway rises steeply but opens out. An unwelcoming hedge is on the left of the fairway up to the green, so the second shot over the brow needs to be right of the large tree in the distance and, at the same time, left of the smaller tree on the brow itself. The flag is now well and truly in view on the plateau green although it may be on the top or bottom of the two-tiered green; hopefully you made a mental note when you were on the 9thtee. The slope between the two tiers will create the need for very careful putting if you arrive at the green on the wrong tier.
Hole 12 Par 4
The ideal drive on potentially the ‘easiest hole on the course’ (SI 18), although blind, needs to be straight over the black and white marker pole or slightly to the left; this gives the best and more generous line into the green and hopefully side-lines the two bunkers to the left of the green. Any drive down the right, apart from flirting with a row of trees, will create a shot into the green which, with the contours of the land, will very much bring the bunkers into play unless executed precisely; this is particularly the case during the Summer. From whatever direction, avoid ending up left of the bunkers. Once on the green putting should be relatively straightforward.
Hole 13 Par 3
A relatively clear-cut par 3 providing you avoid the three bunkers, two are obvious but beware of the one just beyond the bunker on the front right. This aside the real test is the putting possibilities which vary greatly depending on the pin position; in particularly dry conditions you could easily putt off the green.
Hole 14 Par 4
This hole is potentially a ‘scorecard wrecker’, and that despite the fact that all the dangers are readily visible off the elevated tee. Whatever the tactics applied, somewhere along the line, a problem or problems have to be confronted. The tee shot looks inviting but think before you tee off and don’t take liberties; the elevation of the tee means the tee shot stays in the air longer and any imperfections in the shot has more time to cause damage. Out of bounds on the right is obvious but even the right rough increases the difficulty of the approach shot into the green. The two ‘lagoons’ on the left hamper any attempt to compensate for the problems to the right and any shot left of the lagoons will have to take on the large trees just short left of the green. The green itself is defended by a lake to the front, trees and bunker to the left and punitive rough to the rear and right of the green. In addition, the trees and lake often conspire to commit your approach shot to a watery grave. Accuracy in the approach shot is vital although attacking the left of the green can minimise the affect of the lake. The green is not particularly large but is relatively straightforward.
Hole 15 Par 4
This hole is a slight dogleg left whereby the cluster of small trees left of the fairway appears directly in line with the hole. A drive down the fairway to the right of the trees is threatened slightly by the hedgerow on the right. A drive at the trees may well pass through for the bigger hitters, otherwise leave the shot short in order to leave room to play over. A drive slightly left of the trees whilst off the fairway may still give access to the green although the shot maybe more uphill off a side-hill lie. The approach to the green can go all the way or feed in through the right half of the green; do not be long as the shot back down the green can be tricky, especially in the Summer. There are plenty of slopes on this green and the longer putts may need a great deal of imagination and accurate execution.
Hole 16 Par 3
A testing par 3 with a relatively narrow elongated green. Two tall voluminous trees to the right about 2/3 of the way to the green provide a tricky obstacle; if you can negotiate the trees the options are increased for feeding onto the green, A steep sided bunker to the left lies in wait for overhit shots that naturally feed in from the right; any slightly longer shots to the right of the green may be caught in a swale, any chips from anywhere on the right have a steepish bank down to the green and can easily go off the other side. The same steep bank can help any chips from left of the green. Not an easy green on which to read your putts.
Hole 17 Par 5
A relatively easy par 5 providing you can get your drive away from an elevated tee over 100 yards or of unplayable rough. A line of trees splitting the 17thand 18thfairway can hamper the wayward drive especially since the right of the fairway is the target landing area since the fairway naturally slopes right to left. Once past the brow of the hill where the black and white marker pole is situated you are placed to approach the green which is a two-tier green with the lower tier at the far end. Large bunkers left and right will catch any wayward shots. Land in the wrong part of the green and you could be faced with a long putt; the putting challenge varies greatly depending on pin position.

Hole 18 Par 4
Standing on the tee and the hole looks easy as the flag can be seen clearly in the distance straight ahead, but beware, this hole is a ‘wolf in sheep’s clothing’. A wayward drive will bring punitive trees and ditches into play and the hole requires two good hits to reach the green in regulation. A bunker guards the front right and the green. The approach shot can vary in length by two clubs depending on pin position; you can be left with a 30-35 yard uphill slope which can leave you in three-put territory. Putting needs plenty of attention whatever the length.
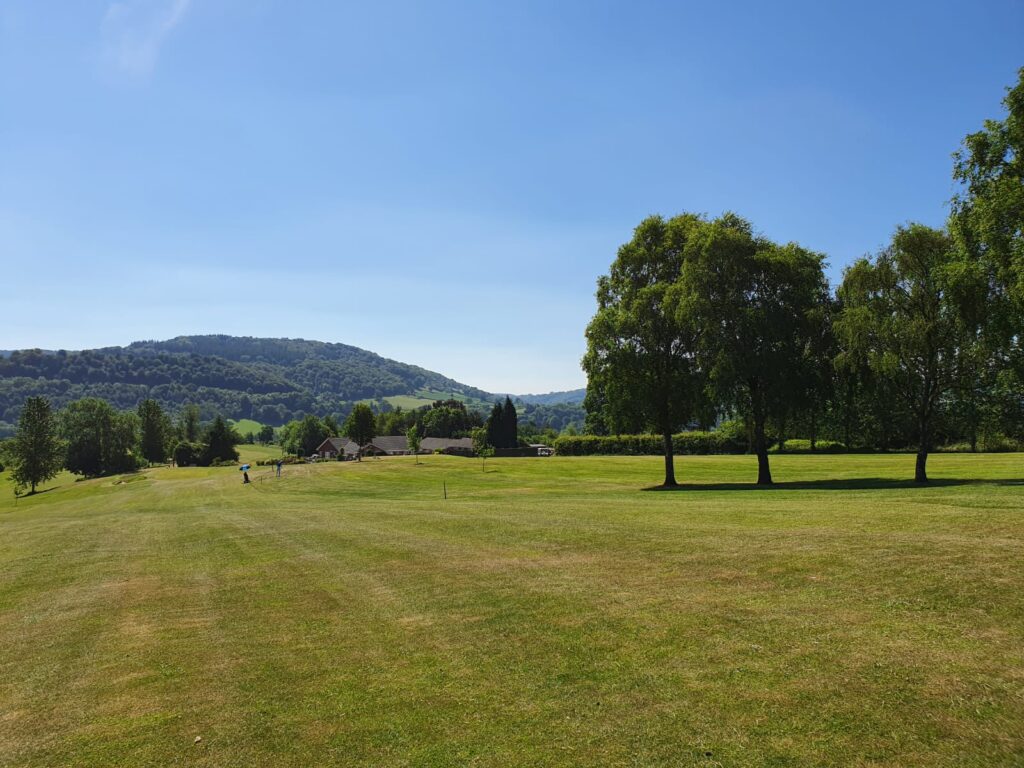
Hole 19 Bar Open
Walking off the green, the clubhouse awaits straight in front where some welcome refreshments can be obtained and you can compare notes with your colleagues and impress them with your in-depth knowledge of the course from reading this guide on how to get the best results out of our varied, interesting and somewhat unique challenge.
When you eventually return in the future you will have added your newly found practical experience to the theoretic knowledge contained herein which should enhance both your enjoyment and your score. Good luck!


